Here are the instructions for flannel burp rags:
1. Choose four flannel fabrics and cut them into 12"x12" blocks
 2. Stack the blocks in the order you want the fabrics (this will make sense after you see the final product, but I usually have a print on the back and three coordinating plain flannels on top). Place the first fabric right side DOWN, and the other three fabrics on top of it, right side UP.
 3. Using 3/4" masking tape, place tape diagonally across the fabric stack, evenly spaced at 3/4" apart.
 4. Pin the four fabrics together.
 5. Using a coordinating color of thread, sew alongside the masking tape. Try to avoid sewing on the masking tape since that makes it harder to pull off cleanly. I flipped this over in the picture so that you can see how it looks along the back (you might have to look pretty close here...sorry...).
 5. Remove the tape and cut through the top TWO fabrics between every area that you sewed. (Try to keep your cutting as much in the center of each section as possible)
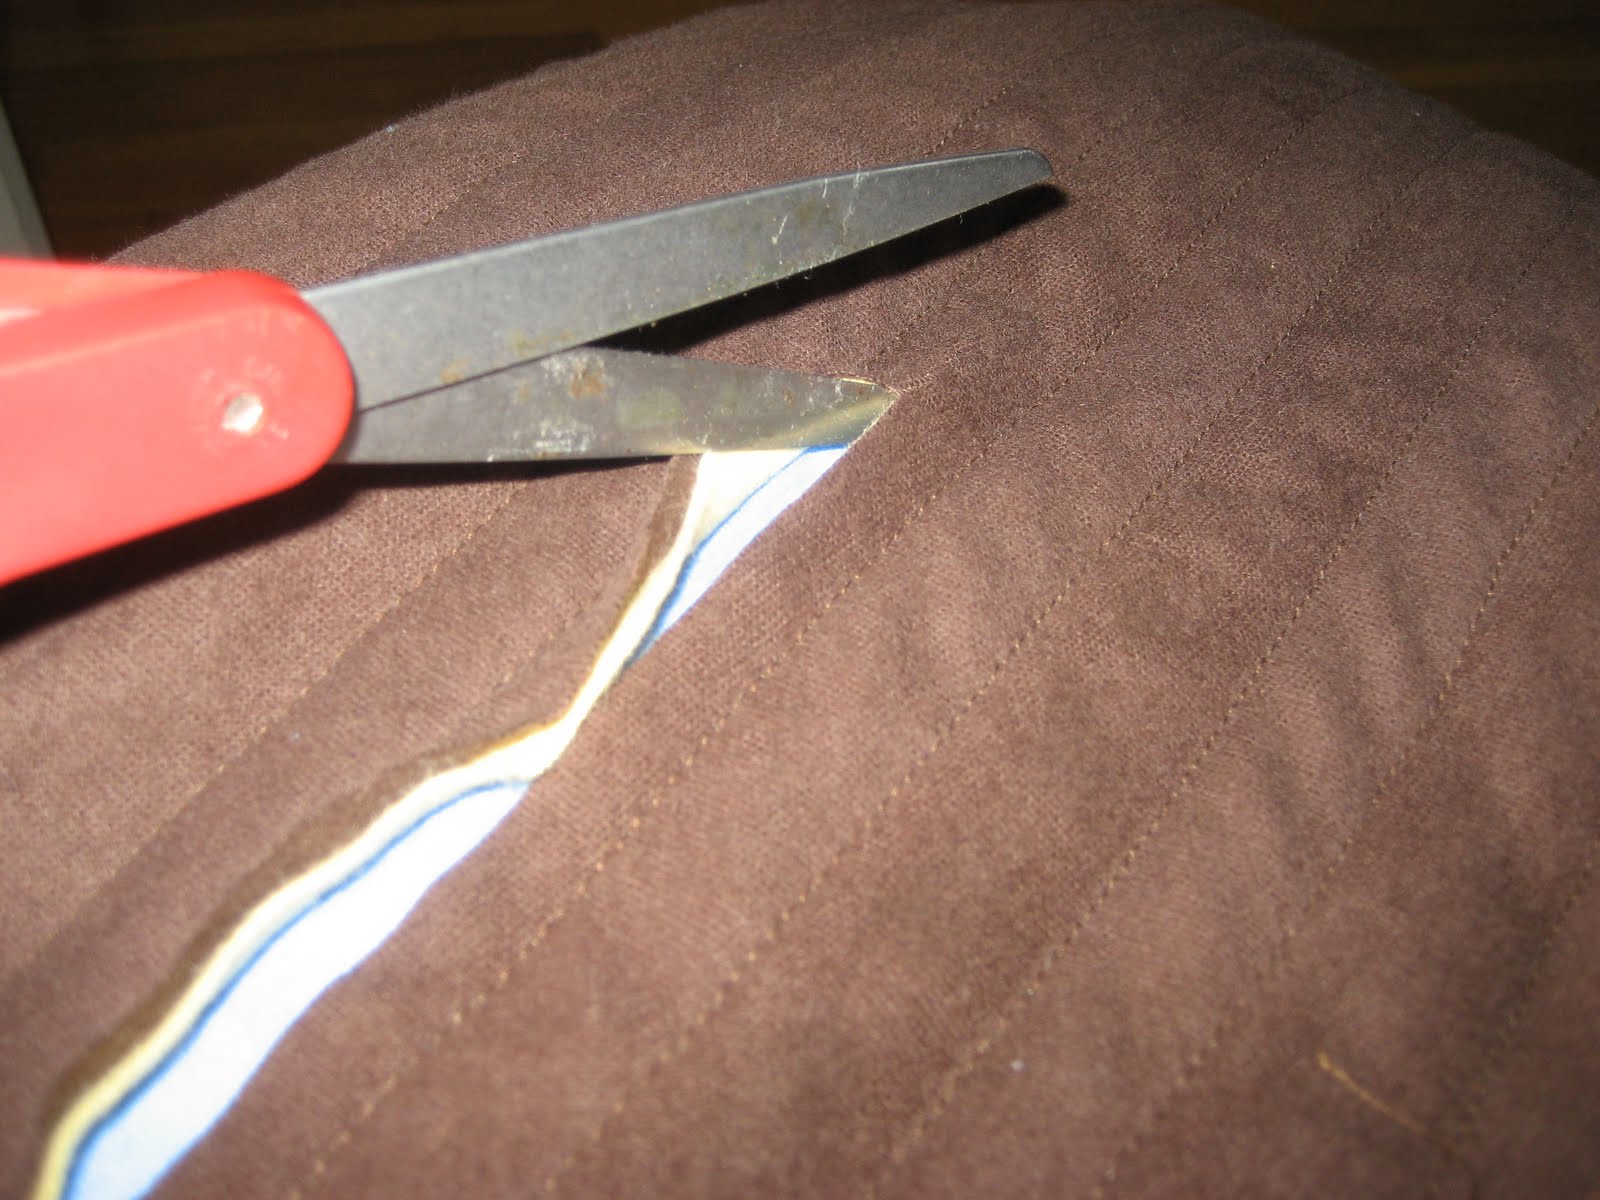 6. This is what the burp rag will look like after you complete your cutting. Trim the threads from the edges. Wash and dry.
 7. Done! (Trim the edges again after washing and drying).
 So, that's what I've done in the past for burp rags. It's pretty fast and kinda cute, BUT I think I discovered an even better burp rag idea! Here it is:
1. Wash, dry, and iron a cloth diaper. Cut out a piece of flannel to the same size as the diaper. Pin the two together.
 2. Sew along the outer edge of the diaper with a coordinating color thread. I also sewed along the edges of the middle section of the diaper to add just a little something visually (you can barely see that in this photo).
 3. Sew on a binding of a coordinating color. If you don't know how to do binding, follow the instructions found on this page. (Side note: I started with a 2.5" piece of fabric for the binding, but if I did it again, I would use 3" due to the thickness of the diaper and the flannel. When trying to complete the binding by hand, I was wishing there was more fabric to fold over the edge.) (Another side note: I think completing the continuous binding is the absolute most confusing thing there is about sewing/quilting. So just take a deep breath, go slowly, and try to just do it right the first time. Ugh.)
 4. Hand sew the binding on to complete your project. SO easy, SO cute, and SO inexpensive. The greatest thing about this project is that you barely need any fabric, so you can search the the remnants at your favorite fabric outlet and get a steal! I'll be able to make about four burp rags out of the fabric I bought out of the remnants for $2.99! And, even though I've never been a mom, the mom I am hanging out with this weekend while I finished this sewing said that this type of burp rag will probably be very useful and practical, too. Score!
 (Final side note: I got this idea when I saw a burp rag given to a friend that had a cute fabric sewn down the middle part of the diaper. That would also be an awesome project/gift, but I don't have a machine that does the cute stitches, so I wanted to do something where I could finish off the edges. But if you have a machine like that, that's another idea! Wouldn't it be cute if you used the same fabric and did one burp rag each way as a gift?? Sew fun!)

2 comments:
These are amazing. Thanks Hannah!
Thank you!!!!
SUCH great ideas!
Post a Comment